 Coeur a la creme has a lot of history behind it - it sure does in our family. While you can improvise on a mold, sometimes tradition just suits tradition, in which case it's nice to have the classic porcelain heart-shaped dish to make it in. You can actually get them in either large or individual portion sizes, but I prefer the large. Its a bit more family style, and if the dish is a bit rich for some guests, it's easier for them to have a smaller portion - nothing would break my heart more than to make one of my favorite desserts and have someone not finish theirs. When I moved out on my own, my mom looked all over so I could have my own dish, and I know it wasn't easy. For the couple times a year I might make it, the mold is one of my favorite dishes in the house. To save you some trouble if you are looking for one, you can order them through Amazon. CHECK IT OUT HERE.
Thursday, February 28, 2013
Product review: Coeur a la creme molds
Coeur a la creme has a lot of history behind it - it sure does in our family. While you can improvise on a mold, sometimes tradition just suits tradition, in which case it's nice to have the classic porcelain heart-shaped dish to make it in. You can actually get them in either large or individual portion sizes, but I prefer the large. Its a bit more family style, and if the dish is a bit rich for some guests, it's easier for them to have a smaller portion - nothing would break my heart more than to make one of my favorite desserts and have someone not finish theirs. When I moved out on my own, my mom looked all over so I could have my own dish, and I know it wasn't easy. For the couple times a year I might make it, the mold is one of my favorite dishes in the house. To save you some trouble if you are looking for one, you can order them through Amazon. CHECK IT OUT HERE.Wednesday, February 27, 2013
Recipe: Coeur a la creme - extra rich
If you've read my original post on Coeur a la creme, you know it's my favorite member of the cheesecake world. I used Coeur a la creme as an element in a contest once, which necessitated an investigation into the original recipe to see if there was any room for improvement on something that already seemed so close to perfection. This recipe was the result. Take note, this is ultra-rich and decadent (which is what I was shooting for at the time), if you want to bring it down a bit, substitute regular cream for the Devonshire and it will still be beautiful.
You will need:
125ml / 1/2C Devonshire cream
250ml / 1C mascarpone cheese
80ml / 1/3C sugar
1 vanilla bean
125ml / 1/2C creme fraiche (I used 1 part buttermilk to 1 part cream)
Method:
- whip the Devonshire cream to medium firm peak
- beat the mascarpone cheese until fluffly
- beat the sugar and vanilla into the mascarpone
- stir in the creme fraiche
- fold in the Devonshire cream
- set in a cheesecloth lined Coeur a la creme mold (or a mold of your choosing that allows for drainage)
- move to the fridge to allow whey to seep out and the mixture to set up
- turn out onto a serving dish
- serve with fruit coulis and fresh berries
Monday, February 25, 2013
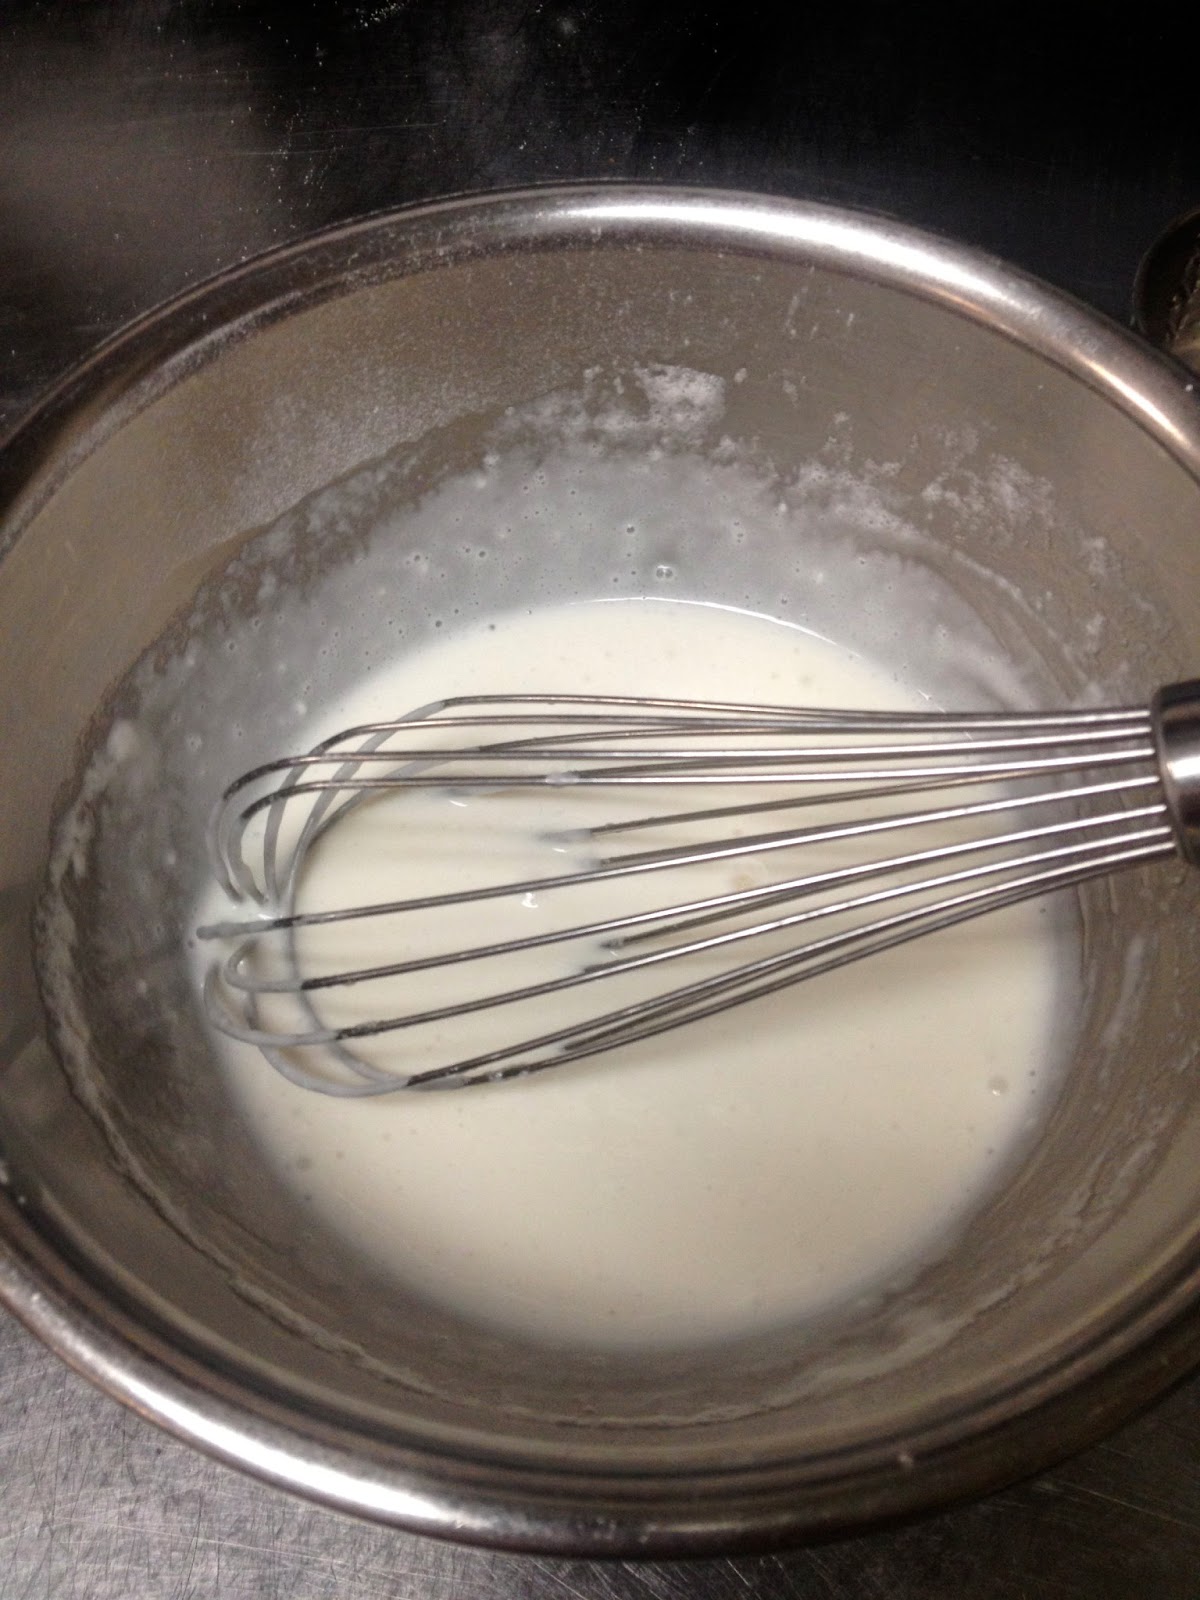
Recipe: Steamed pudding cakes - orange

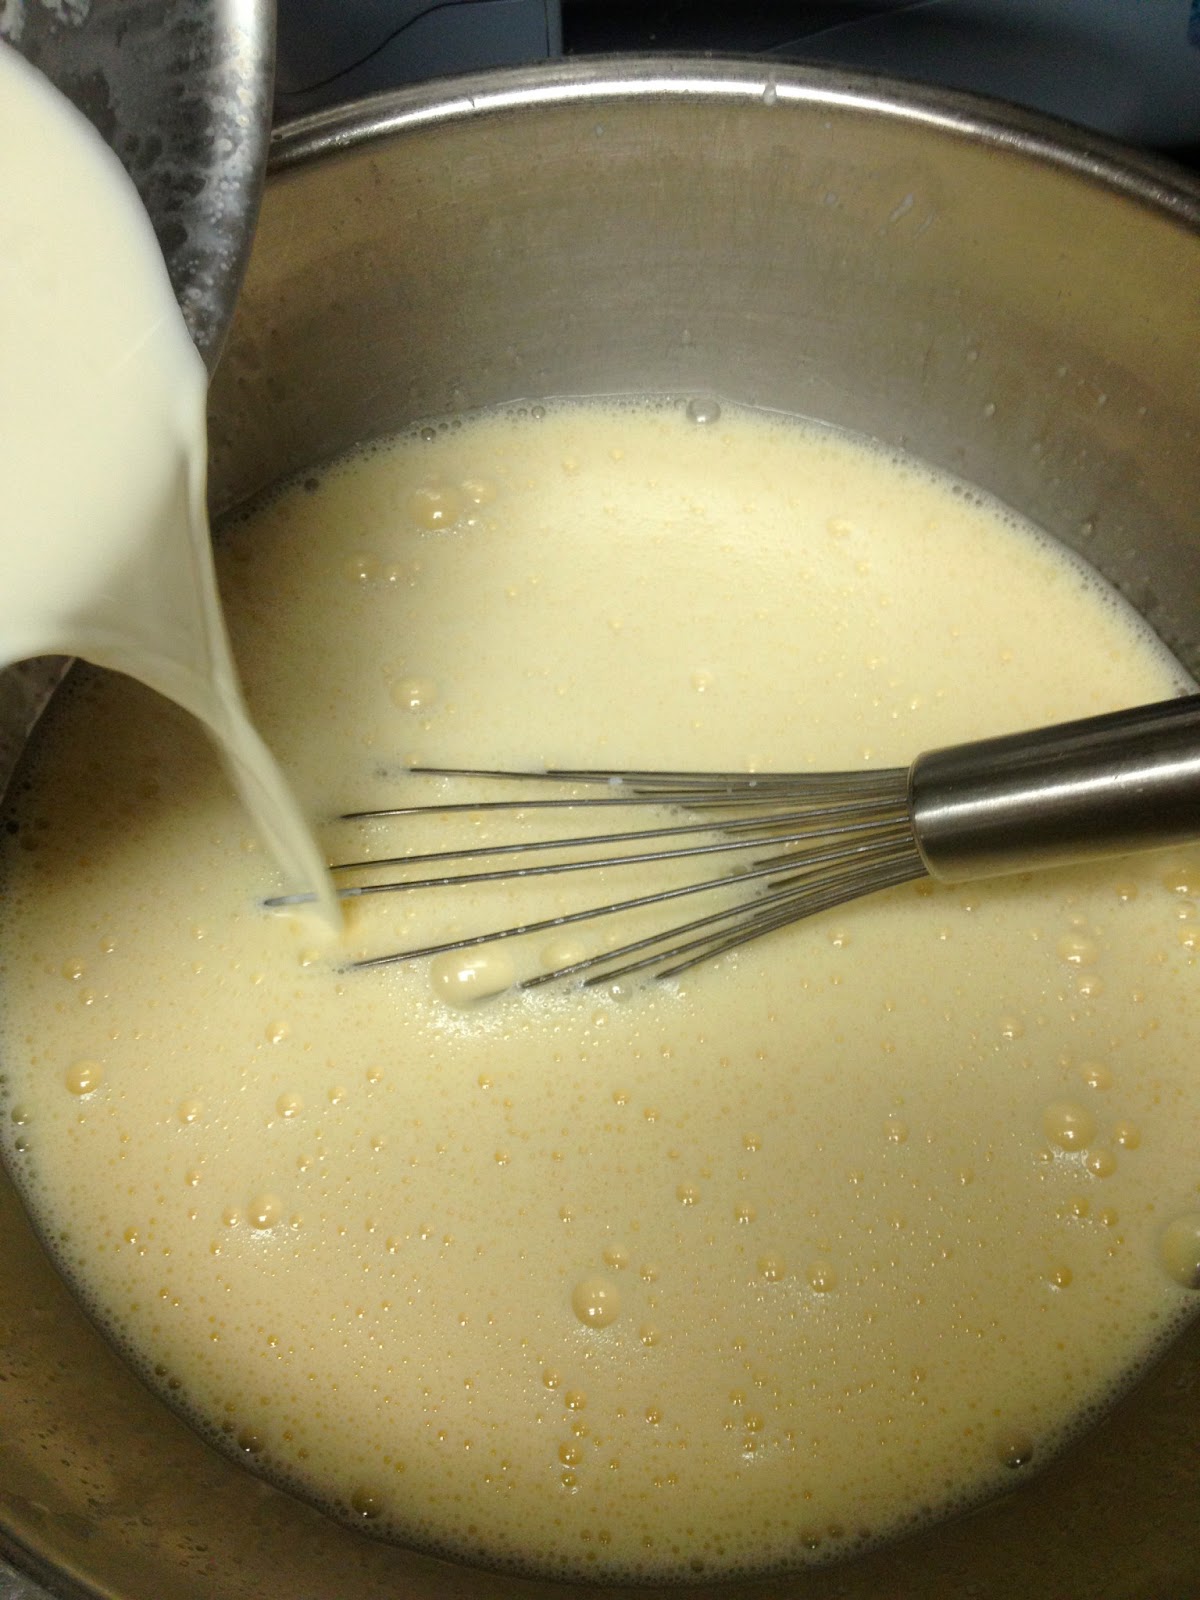
 I love making this dessert, there's a certain magic to it - with one batter, you wind up with a beautiful custard with its own cake base built right in. We served this in Hong Kong and it was a big hit. When you make it, don't worry if the mixture doesn't completely emulsify because it's intended to separate during cooking anyway. To make sure I get the cake bases all even, I usually skim the foamiest layer off the top of the batter and divide it among the cups first, then portion the denser custard next (the foamy part just floats on top as you pour the custard in). This recipe should give you 18 4oz portions.
You will need:
59g / 2.1oz flour
178g / 6.3oz sugar (plus more for cups)
2.5ml / 1/2tsp kosher salt
750ml / 3C cream
625ml / 3/4C fresh squeezed orange juice (about 3)
3 zest from oranges (microplane)
 9 eggs (room temperature)
as needed butter for cups (room temperature)
Method:
- set the oven to 325F / 170C
- coat the cups in the butter, dust with sugar, then put in the fridge to set up
- mix the flour with half the sugar, salt and zest
- separate all the eggs into yolks and whites
- whisk the cream into the yolks, then add the orange juice
 - mix the wet and dry mixes together
- whip the egg whites to soft peak, sprinkle in the sugar, and take to a medium peak
- fold the whites into the batter
- divide the foamiest top layer among the cups
- divide the remaining custard among the cups
- set the cups in a bain marie and bake 15 minutes (no fan or convection)
- rotate the pan and bake another 15 minutes (cover if tops are browning)
- check that the cake "tops" are firm, then pull from the oven and cool on a rack
- store in the refrigerator
- to serve, dip the cup in warm water, run a knife around the edge, and invert


 |
| orange pudding cake with strawberry relish |

Recipe: Candied nuts - fried
This is probably one of the more unusual techniques to candy nuts you will see, but it works really well - the nuts resist clumping together and come out very glossy. You may want to fry the nuts in a pot rather than a deep fryer - the icing sugar can be a bit of a pain to clean out of the bottom of a fryer.
You will need:
nuts
icing sugar and a sifter
oil to fry and a spider to lift the nuts out
blanching water
salt
Method:
- get a pot of water on to boil and add some salt
- get a pot of oil on and get it to 325F / 163C
- blanch the nuts in the water for 5 minutes
- transfer the nuts to a bowl
- start sifting in the icing sugar while the nuts are still moist
- add icing sugar and toss until a nice clear glaze has formed on the nuts
- fry in the oil until golden brown
- use the spider to take the nuts out of the oil and drain on paper towel
- cool completely
- store in an airtight container
- use the spider to take the nuts out of the oil and drain on paper towel
- cool completely
- store in an airtight container
Sunday, February 24, 2013
Recipe: Flourless chocolate souffle
 |
| melt the chocolate butter and cream |
 |
| whip the whites |
You will need:
340g / 12oz dark chocolate - chopped
57g / 2oz butter - room temperature (plus more to coat the ramekins)
125ml / 1/2C cream
5 eggs
57g / 2oz sugar (plus more to coat the ramekins)
Method:
 |
| cream the yolks |
- set the oven to 166C / 330F
- take the room temperature butter and coat the 11 ramekins
- dust the buttered ramekins with sugar and put in the fridge to set up
- combine the chopped chocolate, 2oz of butter and cream and warm in the microwave - not too hot
- stir with a spatula to emulsify then set aside
- divide 4 of the eggs into yolks and whites
- whip the 4 whites to medium peak, then add 1oz of the sugar, whip a bit more and set aside
- put the 4 yolks, the 1 remaining egg and the other 1oz of sugar in the mixer and cream
- cream it some more - give 'em hell
 |
| mix the chocolate into the yolks |
- gently fold in the whites (you can use a whisk if you are gentle - it's the same motion as a spatula)
- divide the batter evenly between the ramekins
- bake 20 minutes until tops start to open - rotate partway through if your oven doesn't heat evenly
- serve immediately, or cool down and reheat later
 |
| fold in the whites |
 |
| fill the dishes and bake |
 |
| yum! |
Tuesday, February 19, 2013
Product review: American Weigh pocket scales
 If you are getting into some molecular cooking - maybe you picked up the Artistre Experimental Kit - you will quickly find out that your regular kitchen scale isn't quite as precise as you need it to be for some of the new products you are using. Pocket gram scales are now a normal part of a tool kit for serious professional chefs and increasingly in the home. Some of the new molecular ingredients have such potent effects, rounding out to the nearest gram is leaving way too much to chance.
In my experience, one decimal point is satisfactory the majority of the time, but I have on occasion had to freestyle it - "ok, I need 2.3 grams and a tiny bit" - then I've been closely watching the scale to make sure I don't hit 2.4 grams - and this is in large operations. For this reason, if you are going to go and buy a gram scale, go for the extra decimal point. If you happen upon a great formula from someone in the industry, almost certainly you will need to cut it down, which will certainly lead to splitting grams. This is also good for the professional looking to tweak a formula - rather than trying new ratios on a whole recipe, you can try it out on a fractional recipe confident that you will be able to multiply the formula up with ease and precision. CHECK IT OUT HERE.
Monday, February 18, 2013
Recipe: Gastrique - mango lime
I made this sauce recently and was really pleased with the results. When finished, the flavours of both the lime and the mango came in clear and the acidity of the lime was enough that no vinegar was needed. A good quality mango concentrate will help a lot here - you get a potent mango flavour and the bright yellow colour at the same time. You could reduce juiced mangoes, but in order to avoid caramelizing the sugars and compromising the colour, you would have to reduce it at such a low temperature it would take an excessively long time.
In the process of making this, I also stumbled upon the two consistencies you might want out of this gastrique. The first is more of a plate garnish, with a thick caramel-like flow to it, the second is more like a cold sauce, but it stays emulsified beautifully and holds a nice pooled shape when poured onto a plate. In both cases, the ratio of lime juice to mango stays the same, so the only difference in the flavour profile is that the thicker one is slightly sweeter because a greater proportion of the sauce is made up of the caramel that starts the recipe.
You will need:
1C / 250ml white sugar
1/2C - 1C / 125ml - 250ml fresh squeezed lime juice (amount depends on desired thickness)
1C - 2C / 250ml - 500ml mango concentrate (amount depends on desired thickness)
to taste kosher salt
Method:
- put the sugar in a pan with a bit of water to make a thick syrup
- cover the pan loosely and turn the heat on (the cover creates steam and prevents crystallization)
- cook until the syrup turns to a light amber caramel, then turn the heat to low
- add the lime juice (1/2C for the thick gastrique, 1C for the loose)
- add the mango juice (1C for thick gastrique, 2C for the loose)
- keep the heat on low, stir, and let the caramel and juices come together
- season with kosher salt
- turn off the heat and cool completely
- refrigerate
- use cold or at room temperature
Saturday, February 16, 2013
Product review: Artistre Experimental Kit
 As fun and exciting as molecular gastronomy and its applications in cooking can be, it is admittedly easier to dabble in if you happen to work in a kitchen with the necessary products on hand. If you aren't in the industry and want to do things at home, it's not that the techniques are all that excessively difficult, it's more that tracking down the special ingredients can be tough, and often can only be bought in larger quantities than you need or want to make shelf space for. Maybe you aren't sure which applications suit your style best, you might experiment with one or two things that are ok, then stop short of the one spectacular product that you would love because you didn't want any more "stuff" cluttering the kitchen. Artistre has simplified the process for you.
This kit exposes you to a great variety of products - some used together, some on their own, but all with fun and interesting effects. The amounts of each product are smaller, to cut down the clutter, but large enough to try each product a few times. By the time you use up one thing, you will know if you like it and can choose to purchase a larger quantity of that one on its own. Some experimental kits give you way too little of each product, and you would use it up in one or two applications - not much room to test if you like it if one of those attempts doesn't work out.
For reference, the Artistre set give you - for powders: Tapioca Malto-Dextrin; for spherification: Sodium Citrate, Calcium Chloride,
Calcium Lactate Gluconate, Sodium Alginate and Calcium Lactate; for thickening: Xanthan Gum; for emulsification: Soy Lecithin and Glycerin Flakes; for gelification: Agar Agar, Methocel F50 and Kappa Carrageenan. Take my word for it, this is a pretty great selection which will allow you to try a lot of different things. CHECK IT OUT HERE.
Thursday, February 14, 2013
Cooking rice noodles
 |
| soak in cold water |
Maybe you're preparing these noodles for pho, or maybe for something like a pad Thai, if you are from a European background there is a tendency to overthink the process. It's understandable, often rice noodles don't come with instructions, or if they do, they aren't in English. Bear with us those of you who do it second nature, isn't it more important that we get it right once and for all?
The most common mistake is to cook rice noodles like pasta - just don't. It's even simpler than that. All you need is cold water and boiling water and a basin. If the water cools down and the noodles are still a bit firm, you probably didn't add enough boiling water, so boil some more and pour it over.
 |
| pour in boiling water |
You will need:
rice noodles
a basin
cold water
boiling water
Method:
- take the noodles out of the pack and put in the basin
- put the basin under the tap and run cold water over the noodles
- let soak about 1/2 and hour until the noodles are noticeably softer
- get some water boiling
- drain off the cold water and pour the boiling water over the noodles
- let the noodles cook 5 minutes or more until tender and fully cooked - add more hot water if needed
- drain again and rinse with cold water to keep them from sticking
- use as needed
 |
| cooked and rinsed |
Tuesday, February 12, 2013
Recipe: Pho broth
 |
| the aromatics |
For now we'll stick to the standard flavours - ginger, nutmeg, cinnamon and cloves. To make it easy, we're going to assume you already have a decent beef stock made, and this process is just tweaking the flavour of the broth. Once you have the finished broth, the rest is garnish - rice noodles, beef, bean sprouts, cilantro, Thai basil, green onion and a squeeze of lime. As for the beef, the easiest way to do it is to get shaved raw beef (shabu-shabu) and drop it briefly into the hot broth to give it a little cook and add a bit of flavour to the soup.
 |
| let it brew |
You will need:
4L / 4qt quality beef stock or broth
1 onion
1 medium piece ginger
2 pieces nutmeg
1 stick cinnamon
5 pieces star anise
1tsp cloves
to taste fish sauce
to taste sriracha sauce
to taste hoisin sauce
to taste kosher salt
Method:
- in one piece of tin foil, put the spices
- smash the ginger into a few pieces, cut the onion into 6, and put in another piece of tin foil
- roast both bundles in the oven
- put the stock or broth into a pot
- when you can smell the spices, take them from the oven and add them to the stock
- roast the onion and ginger until the edges of the onion have coloured, then add to the stock
- turn the stove on and bring the stock to a simmer
- allow the broth to brew and reduce by about a litre
- put the shaved beef in a strainer and drop into the broth just to cook slightly
- season the broth with the fish sauce, hoisin, sriracha, and salt
- strain the broth
- garnish and serve, or chill and store until needed
Recipe: Parmesan stock
 |
| sweat the onion and garlic |
You will need:
 |
| add the water, rind and aromatics |
1 medium white onion
2 cloves garlic
1 bay leaf
12 black peppercorns
2L / 2qt cold water
6 basil stems
12 parsley stems
Method:
- sweat the onion without colour in olive oil
- add the garlic and continue to sweat
 |
| steep the herb stems |
- keep at a low simmer for 3 hours
- turn off the heat, drop in the herb stems, cover the pot and let steep 1/2 hour
- strain, cool down, and store in the fridge
- remove the hard fat cap
- use as needed
 |
| rich and cheesy |
Sunday, February 10, 2013
Recipe: Tempura batter (extra crispy!)
 |
| lightly whip the whites |
First off, in my experience, for the sake of crispiness, rice flour and cornstarch produce better results than wheat flour, so this recipe uses a mix of both. Similarily, by using egg whites instead of whole eggs, many recipes will come out crispier - after all, you don't make pavlova with whole eggs.
 |
| mix the batter |
You will need:
125ml / 1/2C rice flour
125ml / 1/2C cornstarch (plus extra for dredging)
2 egg whites
 |
| strain |
pinch baking soda
to taste kosher salt
iSi gun
NO2 charges
Method:
- sift the rice flour, cornstarch, salt and baking soda together
- separate the egg whites and give a light whisk
- add the egg whites to the dry mix, add a bit of the soda water and mix smooth
 |
| load the gun |
- strain the mix
- load it into an iSi gun and charge with NO2
- shake very well and keep very cold
- set your fryer to 360F - 375F depending on the size of items frying
- dredge the item in cornstarch and shake off any excess
- blast the batter into a bowl
- coat the item in the batter
- fry
- drain on paper towel and season with salt
 |
| the fully aerated batter |
 |
| tempura pork belly and Rice Krispy square |
Saturday, February 9, 2013
Recipe: Tempura batter
"Can I offer you some tempura _________?" Pretty much an easy sell to a guest. Certainly in Vancouver, and I'm pretty confident worldwide, tempura items have huge popularity, to the point that it's not just reserved for Japanese food anymore, it crosses over everywhere into all styles of food. We always have some tempura batter ready to go at work, so it's not uncommon for us to be checking out a new item and someone comes out with "it's pretty tasty, but will it deep fry?" - into the batter and into the fryer it goes. All manner of fish, poultry, vegetables, fruit (a bit trickier), pork belly, the list goes on, we've tested it. I've even made tempura french fries just to make sure we're covering all our bases (surprisingly delicious and probably a sin). This recipe is a nice one not only because it works, but the numbers are all in sync with each other which makes it easy to remember and multiply for larger amounts. Some great variations simply involve adding something to the batter. Togarashi spice will add a nice zip to the batter while black sesame seeds add not only a nice flavour, but have a great visual effect on the product. Best to make this as close to cooking time as possible.
You will need:
1 egg
1C / 250ml flour
1C / 250ml soda water
pinch baking soda
to taste kosher salt
as needed cornstarch for dredging (optional)
Method:
- set your fryer to 360F - 375F depending on the size of the item frying
- Sift the flour, salt and baking soda together
- whisk the egg well
- whisk some of the soda water into the egg
- whisk the egg/water mix into the flour mix until smooth
- add the soda water until you have a nice consistency (a bit thicker than cream) - you don't have to use it all
- if desired, dredge the item with cornstarch and shake any excess off
- dip in the batter
- fry
- drain on paper towel and season with salt
Friday, February 8, 2013
Recipe: Caramelized toast
 |
| make toast |
This garnish would have been absolutely perfect on the peanut butter creme caramel - but by the time I remembered it, we had already eaten it. Remember, we were shooting for a peanut butter and jam sandwich effect, and this would have brought in buttered toast into the mix (and caramel to boot). It's really just about as simple as it sounds, but remains an unusual item, both delicious and interesting. The caramel gives a welcome crunch to the surface, but the inside retains its chewy buttery toast character. As for presentation, it lends itself best to breaking off abstract pieces, showing off the texture of the toast. I've also used this to garnish a creamy cauliflower soup - shockingly good.
 |
| make caramel |
You will need:
sliced bread - your choice (I used white sourdough)
butter
sugar
Method:
- butter the bread
- toast the bread on both sides - use a hot pan or griddle rather than a toaster
- cook the sugar to an amber caramel
 |
| drop in the bread |
- drop the toast into the caramel and let the caramel soak in
- turn the toast over and let the other side soak up the caramel
- lay the toast on parchment paper and let the caramel set
- break off pieces and use as desired

 |
| let it set |
Wednesday, February 6, 2013
Recipe: Maple peanut butter creme caramel
 |
| buttercup |
Ok, I promise this is the last creme caramel recipe (unless a really great one comes along - ha!), but it was too much of a fundamental twist not to pass it along. It also goes to show the value of following a hunch, no matter how weird it may seem. We were tossing ideas around about a peanut butter creme caramel at work and the idea came to me about instead of incorporating the peanut butter into the custard, to use it in the "caramel" part - I was wondering if it was possible to pull it off without actually having any caramel at all, but a peanut sauce instead. I happened to have a little of our regular custard on hand so there was nothing to do but to do it. I instantly went with maple syrup as a sweetener and it would also help loosen the sauce up. The real trick as I saw it was to maintain that definite line between the custard and the "caramel", so I used the freezer. Since peanut butter is inherently sticky, I wanted to make absolutely sure the "caramel" would release from the bottom of the cup, so I brushed it with a little butter first and stuck it in the freezer.
 |
| maple peanut butter |
Worked like a charm! A tiny bit of butter made it's way to the top during the cooking, but a little dab with a paper towel dealt with it. The flavour was great, instead of having a muted peanut butter flavour in the custard, having it as the sauce delivered the full power of the peanut butter in all its glory. Of course, for plating, we went with the classic PBJ and banana combo - strawberry "jam", caramelized bananas, and a cinnamon puff pastry stick as the "toast". Of course, now that we've managed a departure from using caramel in a creme caramel, we opened up a whole can of worms, but I'll be content sitting on this for a moment.
For this experiment, I was using the half milk half cream custard, but the all cream recipe would work just as well. Again, this will do 10 to 12 portions depending on the size of cup.
 |
| fill with custard |
You will need:
as needed butter for the cups
as needed smooth peanut butter
as needed maple syrup (#3 is best)
500ml / 2C milk
500ml / 2C cream
8 eggs
142g / 5oz sugar
10ml / 2tsp vanilla
Method:
- brush the bottom of the cups with a thin layer of melted butter and place in the freezer to harden
- whisk together maple syrup and peanut butter at least 50/50, but more syrup makes the sauce more fluid
- put a generous tablespoon of the maple peanut butter in each cup, and tap it down to cover the bottom
- freeze again
 |
| cook nice and slow |
- put the milk, cream and vanilla in a pot and bring up to a simmer
- whisk the eggs and sugar together
- temper the cream into the eggs
- strain the mix
- set the oven to 275F / 135C
- set a pot of water on to boil
- fill the cups with the custard
- place the cups in a high sided pan
- pour the water in the pan 3/4 up the sides of the cups
- place the pan in the oven with a loose cover
- cook for 1 3/4 hrs to 2 hrs until the custard no longer jiggles loosely
- remove from oven and cool completely
- dab any butter from the top surface with a towel
- to serve, place the cups in warm water to loosen up the sauce
- run a knife around the edge, then turn out onto a plate
 |
| peanut butter, jam, banana and toast - what's not to love? |
Tuesday, February 5, 2013
Recipe: Grand Marnier creme caramel
This recipe for creme caramel is the one I used in Hong Kong. I have a natural tendency towards the "more butter" approach to cooking, therefore it uses all cream as opposed to half milk and half cream. We also brought in the flavour of Grand Marnier for extra decadence. There is slightly less eggs in the mixture, so the resulting caramel is a bit softer than the one in the last post.
You will need:
1L / 1qt cream
6 eggs
128g / 4.5oz sugar (plus sugar for the caramel)
15ml / 1Tbs vanilla
60ml / 1/4C Grand Marnier liqueur
Method:
- make the caramel and set it in the dishes
- put the Grand Marnier liqueur in a saucepan, heat it and burn off the alcohol
- put the cream and vanilla in a saucepot and bring to a simmer
- whisk the eggs and sugar together, then whisk in the Grand Marnier
- temper the cream into the yolk mixture
- strain the mixture
- set the oven to 275F / 135C
- put a pot of water on to boil
- fill the cups with the mixture
- place the cups in a high sided pan
- put the water in the pan 3/4 up the sides of the cups
- place the pan in the oven with a loose cover to protect the custard from the dry heat
- cook for 1 3/4 hours to 2 hours until the custard no longer jiggles loosely
- remove from the oven and cool completely
- to serve, run a knife around the edge and turn out on a dish
Monday, February 4, 2013
Recipe: Creme caramel
 |
| set the caramel in the cups |
Creme caramel is one of the classic all time desserts. I've made it for numerous menus over the years and have worked with lots of recipes, but I've narrowed it down to a couple that I'll give you in the next couple posts. The one common factor and I think the most important thing is this: give yourself the time to cook them slowly - it will give you the silkiest texture possible. Eggs are a fickle product and more often than not gentle treatment will give you the best results. This recipe is the classic formula using half milk and half cream, and will make 10 to 12 portions depending on your dishes.
 |
| whisk the yolks and sugar |
You will need:
 |
| temper the cream into the yolks |
500ml / 2C cream
8 eggs
142g / 5oz sugar (plus sugar to make caramel)
10ml / 2tsp vanilla
Method:
- cook sugar in a saucepan to an amber caramel
- coat the bottom of the dishes with the caramel
 |
| set in a water bath and cover |
- crack the eggs in a bowl and whisk with the sugar
- whisk the hot cream mixture into the eggs
- strain the mixture
- set the oven to 275F / 135C
- set a pot of water on tho boil
- pour the mixture into the cups
- set the cups in a high sided pan
- pour the water in the pan 3/4 up the sides of the cups
- put the pan in the oven
- set a loose fitted cover over the pan to protect the custard from the dry heat
- cook for 1 3/4 hours to 2 hours until the custard no longer jiggles loosely
 |
| cook and cool down |
- to serve, run a knife around the edge of the cup and turn out onto a dish

Subscribe to:
Posts (Atom)